Docs Timeline View
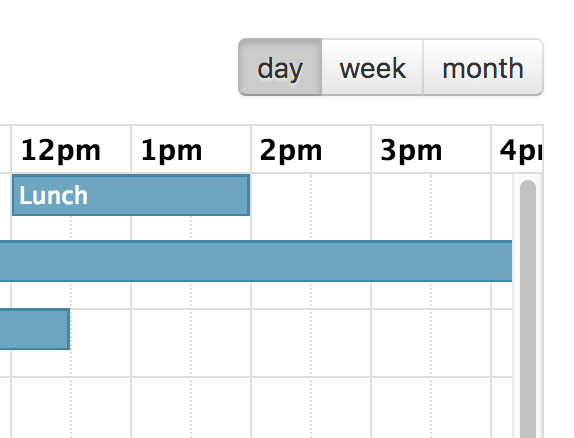
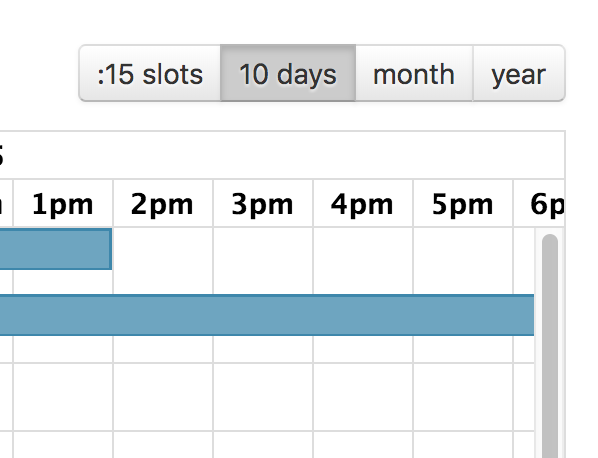
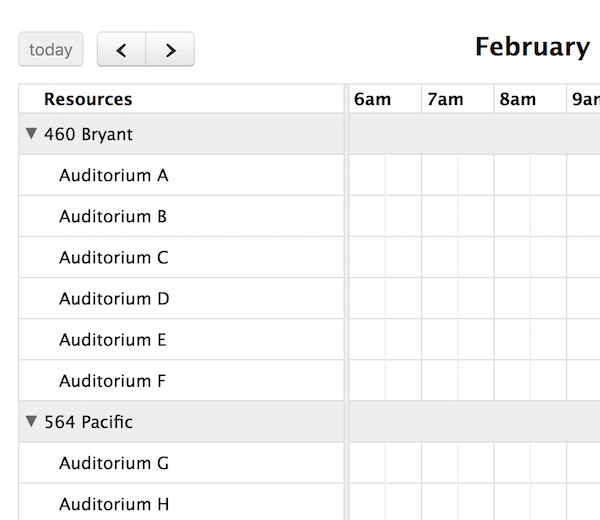
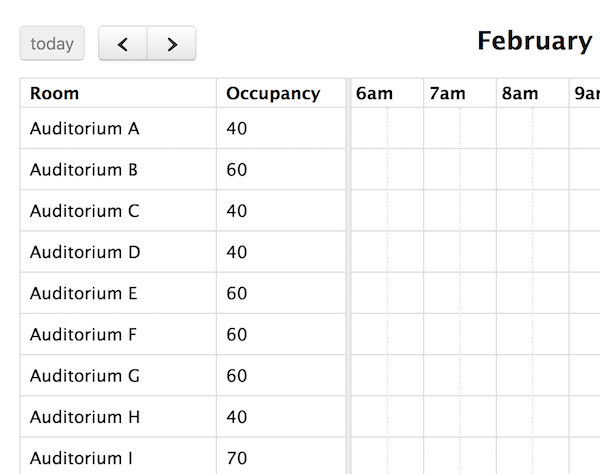
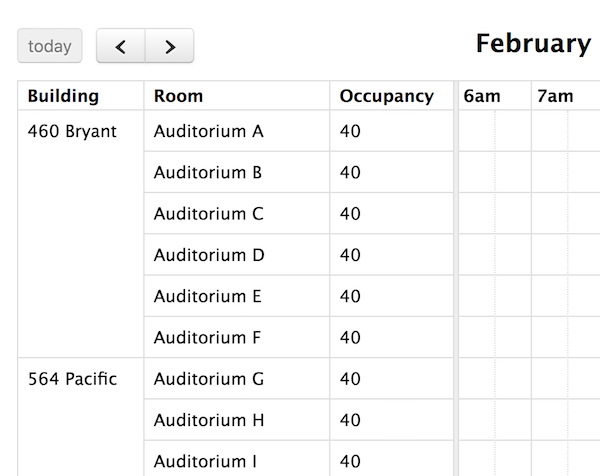
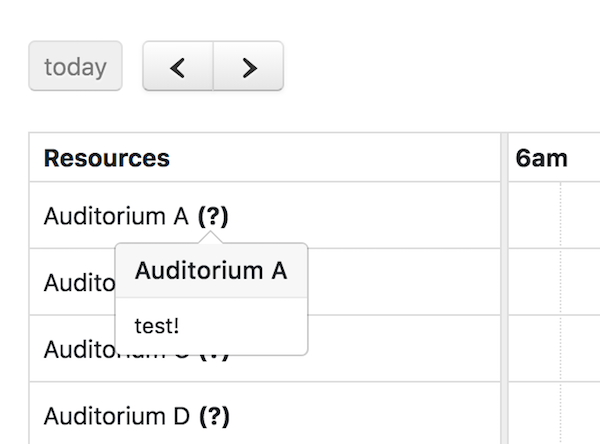
FullCalendar Premium provides a view called “timeline view” with a customizable horizontal time-axis and resources as rows.
The following pre-configured timeline views are available: timelineDay, timelineWeek, timelineMonth, and timelineYear. They can be initialized in an ES6 setup like so:
npm install --save \
  @fullcalendar/core \
  @fullcalendar/resource \
  @fullcalendar/resource-timeline
import { Calendar } from '@fullcalendar/core';
import resourceTimelinePlugin from '@fullcalendar/resource-timeline';
...
let calendar = new Calendar(calendarEl, {
  plugins: [ resourceTimelinePlugin ],
  initialView: 'resourceTimeline',
  resources: [
    // your resource list
  ]
});
...
Or, you can choose to initialize Timeline view with the fullcalendar-scheduler global bundle:
<script src='fullcalendar-scheduler/dist/index.global.js'></script>
<script>
...
var calendar = new FullCalendar.Calendar(calendarEl, {
  initialView: 'resourceTimelineWeek',
  resources: [
    // your resource list
  ]
});
...
</script>
If you need a different duration, make a custom view with type 'resourceTimeline':
var calendar = new Calendar(calendarEl, {
  initialView: 'resourceTimelineFourDays',
  views: {
    resourceTimelineFourDays: {
      type: 'resourceTimeline',
      duration: { days: 4 }
    }
  }
});
When creating a custom-duration view, reasonable defaults for the slot-related settings will automatically be chosen.
The following options are specific to Timeline view. However, there are numerous other options throughout the docs that affect the display of Timeline view, such as the locale-related options, date/time display options, and resource display options.