Docs Scheduler Plugin
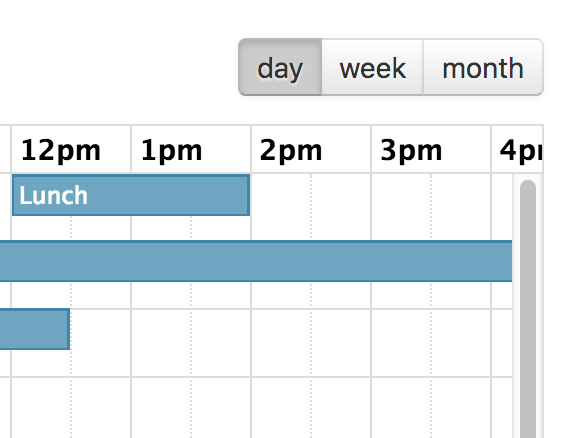
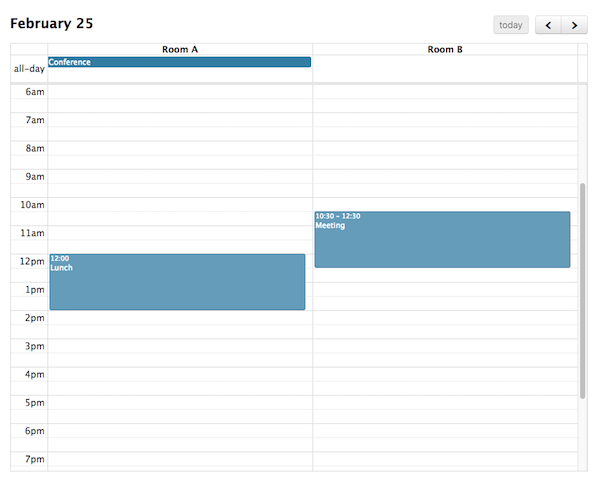
The Scheduler plugin provides you with two extra calendar views to use, both of which are good at displaying resources (things that events can be assigned to, like rooms):
- Timeline View - good at displaying a large number of resources
- Vertical Resource View - good at displaying a fewer number of resources
Scheduler is a premium plugin that has different licensing than the core FullCalendar library. More information »
Installation with Script Tags
In the <head> of your page, include the necessary FullCalendar and Scheduler files:
<link href='fullcalendar.css' rel='stylesheet' />
<link href='scheduler.css' rel='stylesheet' />
<script src='moment.js'></script>
<script src='jquery.js'></script>
<script src='fullcalendar.js'></script>
<script src='scheduler.js'></script>
The ordering of the <script> tags is important.
Installation as an NPM Module (Webpack / Browserify)
Use NPM to install FullCalendar:
npm install jquery moment fullcalendar fullcalendar-scheduler
Then, you must install a build system like Webpack or Browserify that will automatically bundle all of your code. See an example repo that uses Webpack »
Then, write a module that imports both jQuery, FullCalendar, and Scheduler:
import $ from 'jquery';
import 'fullcalendar';
import 'fullcalendar-scheduler';
You must also somehow include FullCalendar’s fullcalendar.css and Scheduler’s scheduler.css, either manually with a <link> tag or via Webpack’s css-loader.
Initializing a View
To learn how to initialize a calendar with a resource view, see the documentation for Timeline View and Vertical Resource View.

